Creating a beautiful and functional garden is more than just an exercise in design; it requires the right tools to turn your vision into reality. Whether you are starting from scratch or renovating an existing green space, each step in the process is crucial to achieving the perfect garden. In this guide, we will explore the key steps involved in building your garden and how to use various construction tools effectively to bring your dream garden to life.
Step 1: Planning and Design
The foundation of any successful garden project lies in thorough planning and thoughtful design. Before any physical work begins, take the time to plan out the layout of your garden. Consider the various functional areas you want to include, such as a seating area, planting beds, pathways, and perhaps a water feature. Each of these elements will need to be carefully positioned to make the most of the available space and to create a harmonious flow throughout the garden.
In the planning stage, it’s also important to consider the practical aspects of garden maintenance and future growth. Ensure that paths are wide enough for easy movement and that planting beds have enough space for plants to grow without becoming overcrowded. This careful planning will help you avoid common pitfalls and ensure that your garden remains beautiful and functional for years to come.
Step 2: Ground Preparation
Once the design is finalized, the first physical step in creating your garden is ground preparation. A stable foundation is essential for any garden, as it supports everything from pathways to planting beds and structural elements. Without a well-prepared base, you risk future issues such as uneven surfaces, waterlogging, or sinking.
For this crucial step, the tamping rammer and plate compactor are indispensable tools. The tamping rammer is ideal for compacting soil in small or intricate areas, such as around garden borders or in narrow pathways. Its powerful vibrations help to compact the soil effectively, reducing the risk of future subsidence or uneven ground. On the other hand, the plate compactor is better suited for larger areas, such as the main pathways or patio bases. This tool ensures that the ground is evenly compacted and stable, providing a solid foundation for whatever surface material you choose to lay down next.
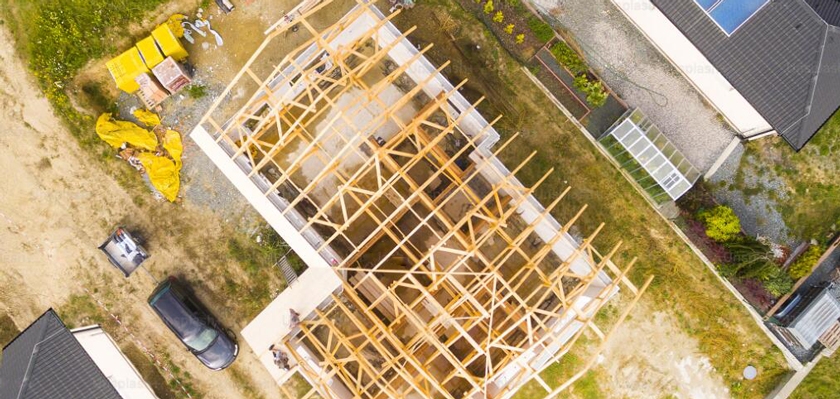
Step 3: Building the Structural Elements
With the ground properly prepared, the next step is to construct the garden's structural elements. These include walls, steps, or any supporting structures that are integral to the garden’s layout. These elements not only provide practical support but also define the layout and add a sense of depth and dimension to your garden.
To build these structures, tools like the concrete mixer, concrete vibrator, and hoist are essential. The concrete mixer is used to mix cement, sand, and gravel to create concrete, which is then used to build solid walls, foundations, or steps. The concrete vibrator plays a crucial role during the pouring of concrete. By vibrating the freshly poured concrete, it eliminates air bubbles and ensures the mixture is dense and durable, enhancing the strength and longevity of the structure. Meanwhile, the hoist is invaluable for moving and positioning heavy materials like large stones, statues, or beams, ensuring that these components are safely and accurately placed in the garden.
Step 4: Laying the Ground Surface
The next step in your garden-building project is laying down the ground surfaces, which include pathways, patios, or any paved areas. This step not only impacts the functionality of your garden but also contributes significantly to its aesthetic appeal. A well-laid surface can define spaces, guide movement, and enhance the overall design.
For this process, you will rely heavily on the plate compactor and construction cutter. Before laying down paving stones or tiles, you should use the plate compactor once more to ensure that the surface is flat and stable. This prevents future issues such as shifting or uneven surfaces, which can detract from the garden’s appearance and usability. The construction cutter is then used to precisely cut tiles, bricks, or stones to fit the exact dimensions of the area, ensuring a neat and professional finish.
Step 5: Wall Finishing and Detailing
After the structural and surface work is complete, attention can be turned to the finishing touches on the garden walls. Garden walls are not just functional elements that define space or provide support; they can also be a canvas for creative expression, adding texture, color, and character to your garden.
In this phase, tools like the power trowel, plastering tools, and wall painting Brush are your best allies. The power trowel is used to smooth large areas of concrete walls, creating a flat and even surface that is ready for further treatment. For more detailed work, such as corners or decorative features, plastering tools allow for precise application and smoothing of plaster or mortar. Finally, the wall painting brush can be used to apply the finishing touches. Whether you choose to paint the walls in a solid color or use textured finishes to add depth, the right brush will help you achieve the desired effect with ease.
Step 6: Precision Work and Finishing Touches
As the major construction elements of your garden take shape, the next step involves precision work and the addition of finishing touches. This includes tasks such as installing fixtures, cutting precise openings, or adding decorative elements that will make your garden truly unique.
For these tasks, the diamond core drill and magnetic drill are particularly useful. The diamond core drill is designed to create clean and precise holes in tough materials like stone or concrete. This is ideal for installing garden lighting, irrigation systems, or other fixtures that require secure mounting. The magnetic drill is similarly used for drilling through metal structures, such as railings or pergolas, allowing for the accurate and safe installation of these components.
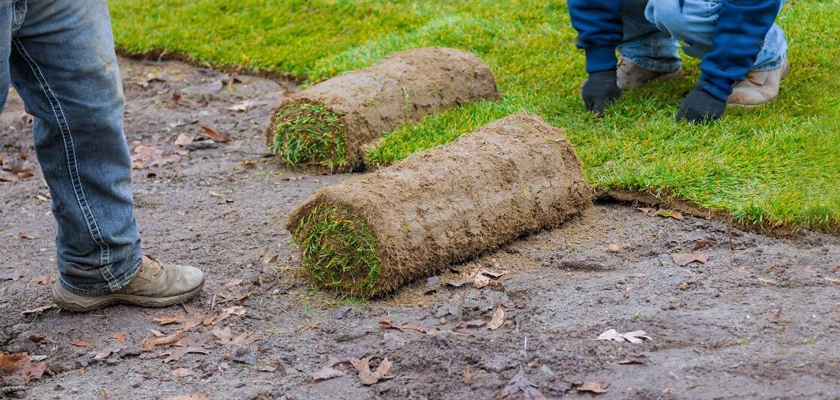
Step 7: Decorating and Planting
With the structural and functional elements in place, it’s time to bring your garden to life with plants and decorative features. This final step is where your garden’s personality really shines through, as you add the plants, flowers, and decorative touches that make the space truly yours.
For the decorative aspects, the wall painting brush and tile tool are invaluable. The wall painting brush allows you to add a final coat of paint or decorative patterns to walls, fences, or even garden furniture, ensuring that every surface looks perfect. The tile tool is ideal for cutting and laying decorative tiles around planters, water features, or along garden paths, adding a unique and stylish touch to your garden.
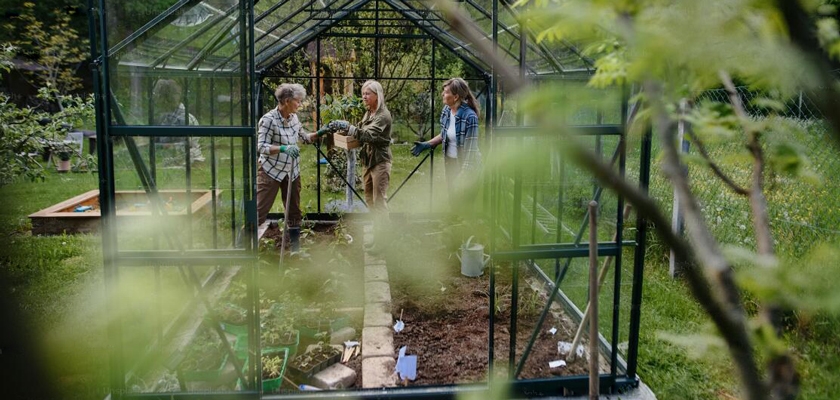
Finally, with the hard landscaping complete, you can move on to planting. Choose a variety of plants that will thrive in your garden’s conditions and suit your design. Carefully plant them according to your plan, ensuring that they have enough space to grow and that they complement the garden’s overall design.
By using the right tools, such as tamping rammers, concrete mixers, power trowels, and more, you can ensure that each step of the process is completed to the highest standard. Combine with another blog from tool. com, "How to Create a Peaceful Garden?", to help you better build your own unique garden.